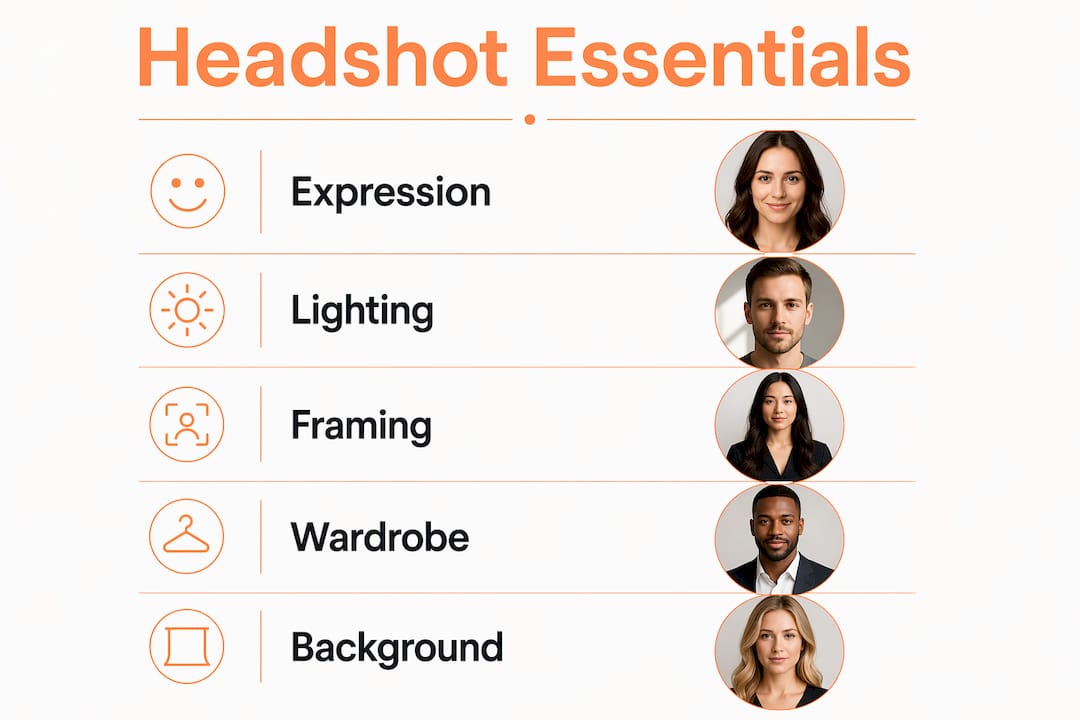
A professional headshot is defined as an accurate, compelling representation of who you are in your professional world. It is not just a nice photo. The elements that make a headshot look professional are genuine expression, flattering light, precise framing, and wardrobe choices that communicate your specific role clearly. Get those four things right and the image works hard for you on LinkedIn, casting portfolios, company websites, and anywhere else your face needs to make a first impression.
What makes a headshot look professional: expression first
Expression is the single most influential factor in a professional headshot, more than lighting or wardrobe. That finding surprises most people who assume the background or the camera matters most. It does not. A technically perfect shot with a flat, disengaged face will always lose to a slightly imperfect shot where the eyes are alive and the smile feels real.
So what does a genuine expression actually look like? Warm, confident, and approachable. The eyes are engaged rather than glazed. The jaw is relaxed rather than clenched. There is a sense that the person in the frame is present and comfortable, not performing for the camera.
The difference between a forced smile and a real one is visible immediately. Held smiles strain the muscles around the mouth and eyes in a way that reads as tense rather than friendly. Capturing the moment right after a genuine laugh produces the most natural and engaging result. Good photographers know this and will work to create that moment rather than simply asking you to say cheese.
Here are the expression qualities that consistently separate polished headshots from average ones:
- Engaged eyes. The “smile with your eyes” technique, sometimes called smizing, creates warmth without requiring a full grin.
- Relaxed jaw and shoulders. Tension travels upward. If your shoulders are tight, your face will show it.
- Slight forward lean. Leaning very gently toward the camera signals confidence and interest.
- Natural mouth position. A soft, closed smile or a relaxed open smile both work. A wide, held grin rarely does.
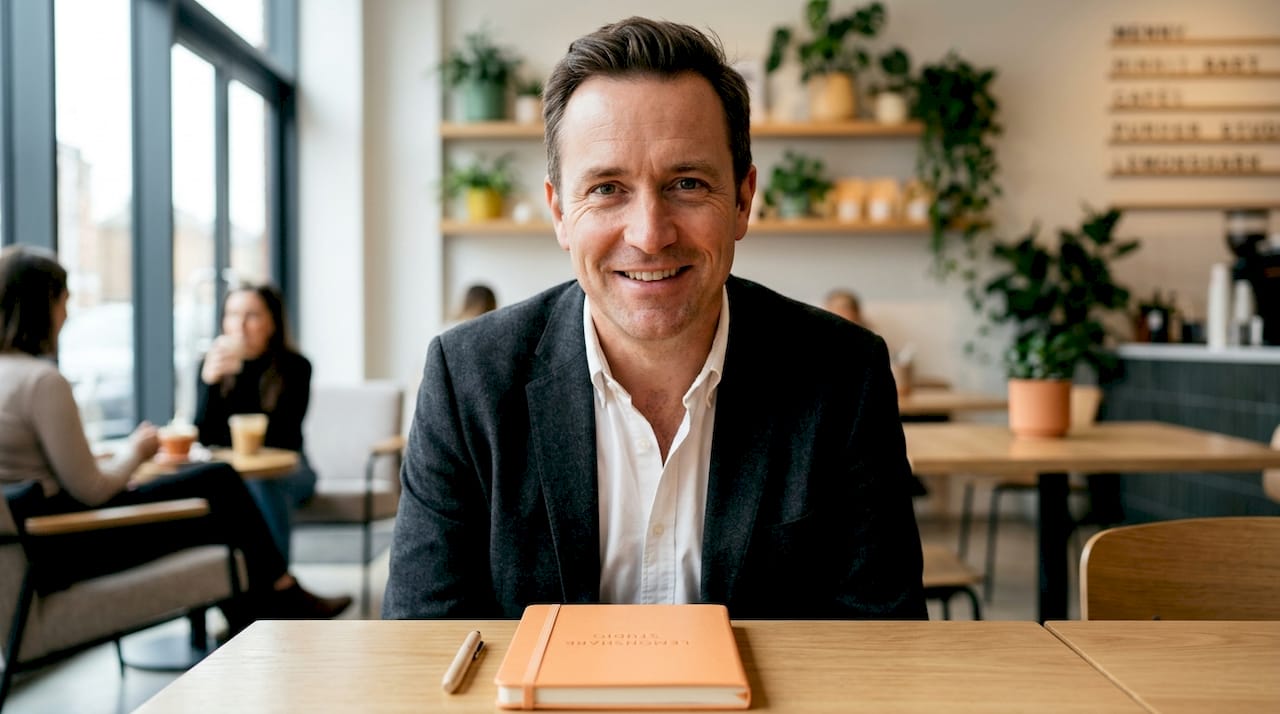
Pro Tip: Think of something that genuinely makes you happy just before the shutter fires. Photographers at studios like Lemonsharkstudio use conversation and light humour during sessions specifically to produce this effect. The resulting expression is one you cannot manufacture on demand.
The key separation between effective and generic headshots is whether the image communicates something accurate and compelling about your professional identity. Expression is the vehicle for that communication.
How does lighting affect the quality of a headshot?
Lighting is the technical factor that has the greatest visible impact on a headshot’s quality. Directional light creates dimension through shadows, separating the face from the background and giving the image depth. Flat, even light from directly in front produces a two-dimensional result that looks more like a passport photo than a professional portrait.
Natural light, particularly outdoor shade or the warm tones of golden hour, adds a softness that flatters most skin tones. Studio lighting offers consistency, which is why it is the preferred choice for corporate team shots where every image needs to match. The two approaches are not in competition. They serve different purposes.
Here are the most common lighting mistakes that reduce professionalism:
- Overhead light only. Ceiling lights cast unflattering shadows under the eyes and nose. Always add a light source at face level.
- Direct flash. On-camera flash flattens features and creates harsh shadows behind the subject.
- Mixed colour temperatures. Combining warm tungsten bulbs with cool daylight produces uneven skin tones that are difficult to correct in post-production.
- Backlit subjects. Standing in front of a bright window without a fill light turns the face into a silhouette.
Framing works alongside lighting to define the image’s professionalism. Headshots with the face filling roughly 60 to 70 percent of the frame are perceived as professional. The standard crop is head and shoulders, or chest up. Extreme close-ups distort facial proportions. Wide shots lose the face in the frame and reduce impact.
| Framing style | Face coverage | Best use |
|---|---|---|
| Head and shoulders | 60 to 70% | LinkedIn, corporate directories |
| Chest up | 50 to 60% | Personal branding, creative portfolios |
| Tight crop (chin to crown) | 80%+ | Rarely recommended, distorts proportions |
| Half body | Under 40% | Environmental or lifestyle portraits |
The table above shows why head and shoulders remains the industry standard. It gives the face enough presence to read clearly at thumbnail size, which is where most headshots are actually viewed.
What to wear for a headshot that looks polished
Wardrobe is the element most people overthink and then get wrong. The rule from Tov Studio Photo is simple: dress one level above your daily attire in solid mid-tone colours. Navy, charcoal, burgundy, and forest green all photograph well under studio lighting. Warm neutrals like camel and stone work too.
The colours to avoid are pure white and pure black. White reflects light onto the face in unpredictable ways. Pure black absorbs light and loses all texture, making the clothing disappear into a void. Busy patterns, logos, and reflective fabrics all create visual noise that pulls the eye away from your face, which is the subject of the photograph.
Fit matters as much as colour. A well-fitted jacket or shirt communicates care and attention. Baggy or ill-fitting clothing reads as casual regardless of how expensive the item is. The same applies to grooming. Haircuts and beard trims are best done four to seven days before the session, not the day before, so the style has time to settle naturally.
- Do bring two or three outfit options. What looks good in the mirror at home does not always translate to the studio environment.
- Avoid heavy jewellery. Large earrings and statement necklaces catch light and distract from the face.
- Match your industry. A barrister and a creative director have different professional contexts. Your wardrobe should reflect yours, not a generic idea of “professional.” You can find more on this in Lemonsharkstudio’s guide to headshot styles for corporate profiles.
- Grooming for camera. Matte skin photographs better than shiny skin. A light powder for all skin tones reduces unwanted shine without looking made up.
Pro Tip: Lay out your outfit choices the night before and photograph them on your phone. What you see on screen is closer to what the camera will capture than what you see in a mirror.
The goal is wardrobe that disappears into the background of the viewer’s attention, leaving your face and expression as the focal point. If someone looks at your headshot and notices your shirt before your eyes, the wardrobe has done the wrong job.
Which backgrounds work best for professional headshots?
Background choice is often treated as an afterthought. It should not be. Neutral backgrounds like grey, white, or beige provide timeless, versatile results that work across platforms and professional contexts for years. They do not date. They do not compete with the subject.
Environmental and branded backgrounds add personality and context. A lawyer photographed in front of a bookcase communicates something specific. A tech founder photographed against an exposed brick wall communicates something different. Both can work, but both also carry risk. An environmental background that feels current today may look dated in three years, limiting the headshot’s useful life.
| Background type | Advantages | Disadvantages |
|---|---|---|
| Neutral grey or white | Timeless, versatile, platform-agnostic | Can feel clinical if lighting is flat |
| Beige or warm neutral | Flattering skin tones, softer feel | Less common, may not suit all industries |
| Environmental (office, outdoors) | Adds context and personality | Dates faster, harder to control |
| Branded or coloured | Strong visual identity | Limits use across different roles or companies |
Retouching sits alongside background in the post-production conversation. Professional standards are clear: retouching removes temporary blemishes but preserves permanent features like scars, freckles, and natural wrinkles. Over-retouching produces an image that looks nothing like you, which defeats the purpose of a headshot entirely. The image should look like you on your best day, not like a digital approximation of someone younger. You can explore background options in more depth through Lemonsharkstudio’s headshot backgrounds guide.
Practical tips for preparing for your headshot session
Preparation is where most people lose points before the session even begins. Schedule your headshot two to three weeks before its intended use. Booking too close to a deadline creates stress, and stress shows on camera. It also leaves no time to reshoot if something does not work out.
Here is a practical preparation sequence that works:
- Book the session three to four weeks out. This gives you time to prepare wardrobe, grooming, and any questions for the photographer.
- Get your haircut four to seven days before. Fresh cuts look slightly stiff. A few days of growth softens the style.
- Prepare two to three outfit options. Pack them the night before so you are not rushing on the day.
- Sleep well the night before. Tired eyes are visible in photographs and difficult to correct in post-production.
- Arrive ten minutes early. Use the time to settle, have a conversation with the photographer, and let any travel tension leave your face.
- Communicate your professional context. Tell the photographer where the images will be used and what impression you want to make. A LinkedIn profile for a finance director requires a different approach than a portfolio shot for an actor.
Pro Tip: Take a short walk or do a few shoulder rolls before the session starts. Physical movement releases tension from the neck and shoulders, which directly improves how relaxed you look in the frame.
If you are taking a DIY headshot on a smartphone, position the camera at eye level or very slightly above. Never shoot from below. Use the rear camera rather than the selfie camera, as it produces significantly higher resolution. Natural window light to one side of your face, with a white wall or sheet on the opposite side as a reflector, replicates basic studio lighting at no cost. For more on preparing well, Lemonsharkstudio’s guide on preparing for a corporate headshot covers the full process.
What I have learned about headshots after years behind the lens
After working with hundreds of professionals, actors, and creatives, the thing that surprises people most is how little the technical setup matters compared to the thirty seconds before the shutter fires. I have seen images taken in a plain corridor with a single window light outperform expensive studio setups, purely because the person in the corridor was relaxed, laughing, and genuinely themselves.
The most common mistake I see is people treating a headshot session like a formal exam. They arrive tense, they hold their breath, and they perform a version of themselves that looks nothing like the person their colleagues and clients actually know. The result is technically fine and completely forgettable.
What I tell every client is this: your headshot is not a record of how you look. It is a record of how you make people feel when they meet you. If your image communicates warmth and confidence, people will want to work with you before they have read a single word of your profile. If it communicates tension and discomfort, no amount of good lighting will fix that.
The other thing worth saying is that headshots are not permanent. Your image should evolve as your career does. A headshot that served you well as a junior account manager may not serve you as a creative director. Revisiting your professional image every two to three years is not vanity. It is good career management.
— Emmet
Ready to get a headshot that actually works for you?
At Lemonsharkstudio, we work with corporate professionals, actors, and creatives across London to produce headshots that are genuine, polished, and built for the specific context you need them for. Sessions are available in our Fulham studio and on location across West London.

We guide you through wardrobe, posing, and expression during the session, so you do not need to figure it out alone. Whether you need professional headshots for LinkedIn or a full set of corporate portraits for your team, we tailor every session to your industry and your goals. Book directly through the site and we will take care of the rest.
FAQ
What is the most important element of a professional headshot?
Expression is the most important element. Genuine, warm, confident expressions with engaged eyes outperform technically perfect shots with flat or forced faces every time.
How should I frame a professional headshot?
The standard professional framing is head and shoulders, with the face filling roughly 60 to 70 percent of the frame. Extreme close-ups distort proportions and wide shots reduce the face’s impact at thumbnail size.
What colours should I wear for a headshot?
Wear solid mid-tone colours such as navy, charcoal, burgundy, or forest green. Avoid pure white, pure black, and busy patterns, as these create visual noise or unflattering light reflections.
How far in advance should I book a headshot session?
Book your session two to three weeks before you need the images. This avoids last-minute stress, allows time for grooming to settle, and leaves room for a reshoot if needed.
Should I use a neutral or environmental background?
Neutral grey, white, or beige backgrounds are the most versatile and timeless choice for professional use. Environmental backgrounds add personality but can date faster and limit how broadly you can use the image across different roles or platforms.